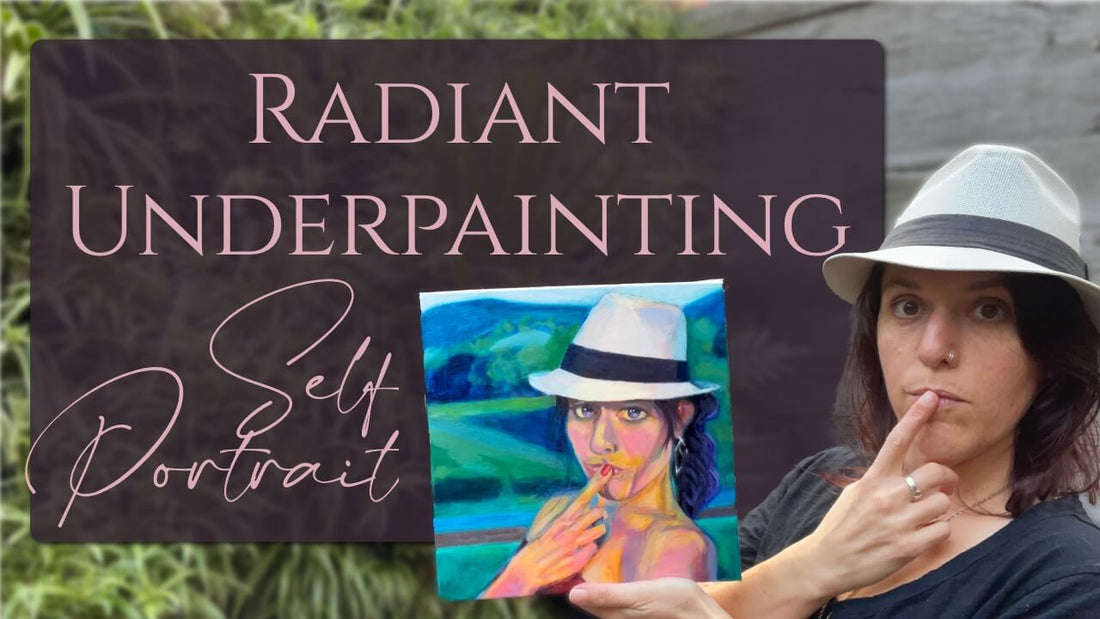
Week 13 Milan Art Institute Mastery Program
I’m back again, and I'm excited to share my review of Week 12 of the Milan Art Institute Mastery Program with you.
This week was all about self-portraits, and let me tell you, it was quite the journey.
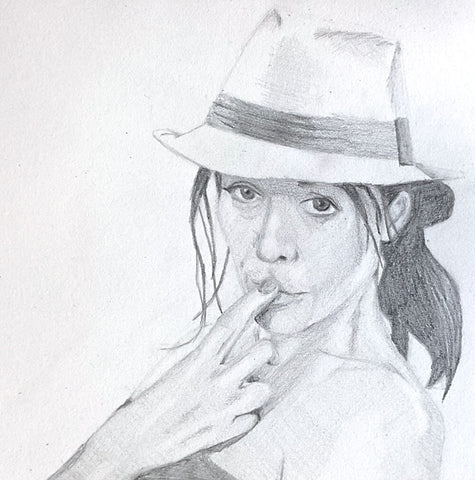
We started off by practicing drawing our features, which was a bit daunting at first. I mean, have you ever really looked at your own face, like REALLY looked at it? I try not to spend too long looking at my own face, but I persevered, and with each drawing, I felt like I was getting a little bit better.
Next up, we moved on to drawing a full headed self-portrait from life, which was even more challenging. I set up a mirror and my easel and got to work, but I quickly realised that that I needed to change the lighting, on top of that, I was standing in a window, and when I started drawing it was before dawn, and by the time I’d finished it was full daylight, so my lights and shadows completely changed a couple time while I was drawing.

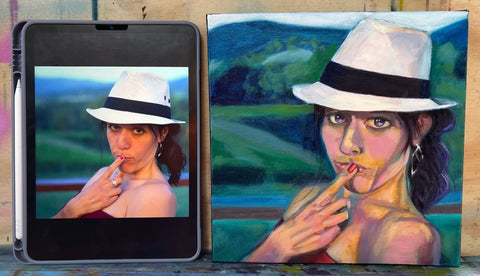
After that, we progressed to drawing self-portraits from photos, which was a bit easier in some ways. I didn't have to worry about holding still or getting tired, but I did have to contend with the limitations of the photo itself. It's amazing how different a photo can look from real life, and I found myself struggling to capture some of the nuances of my face.
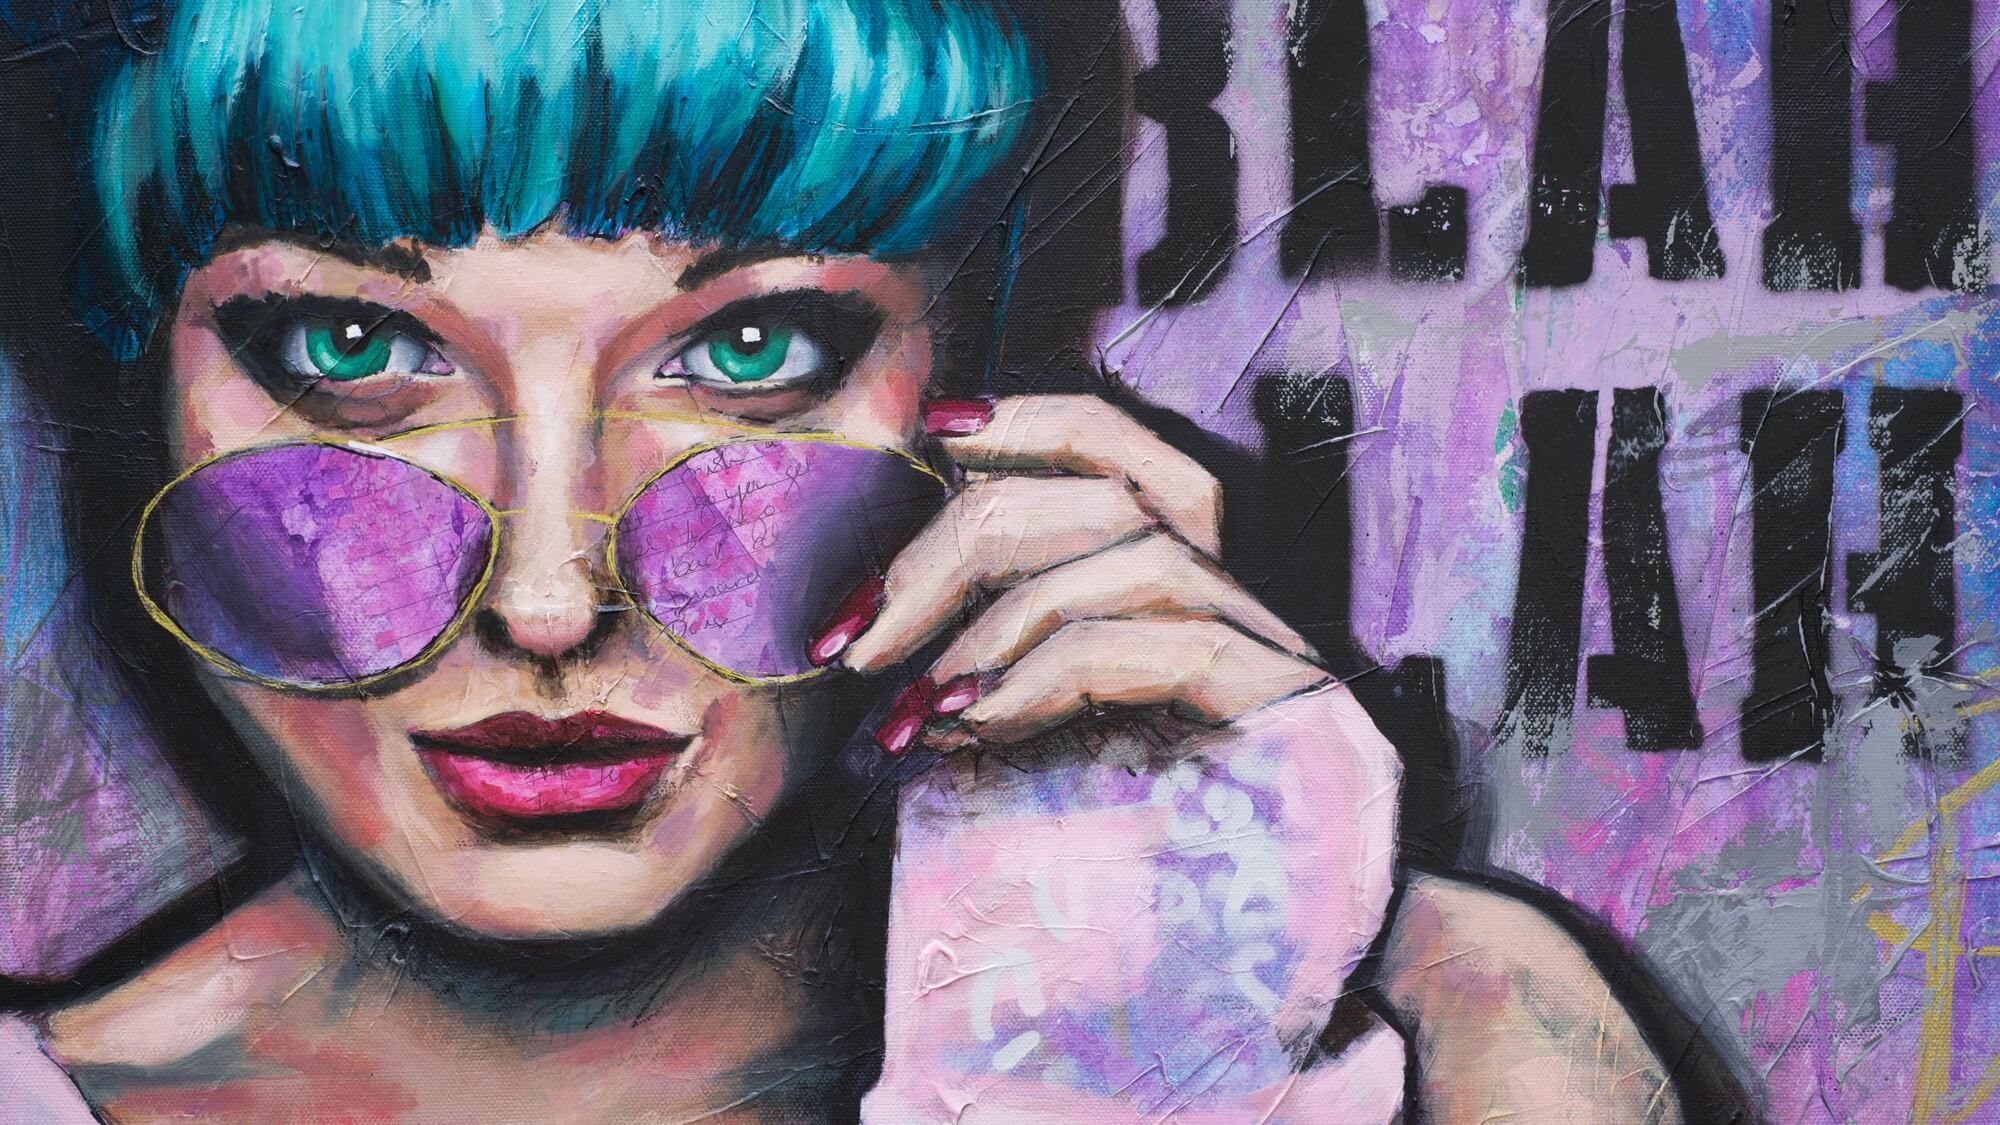
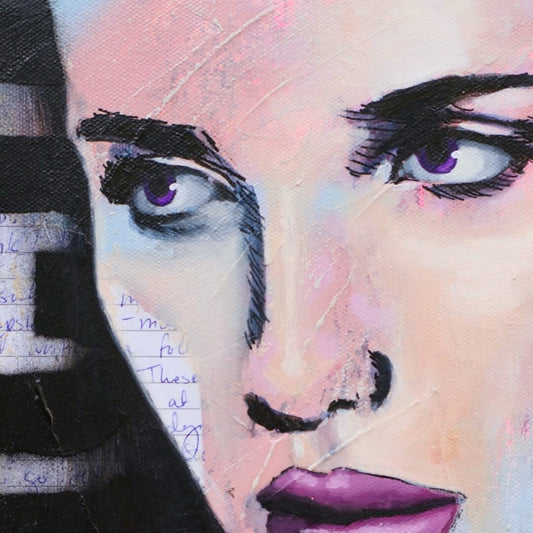
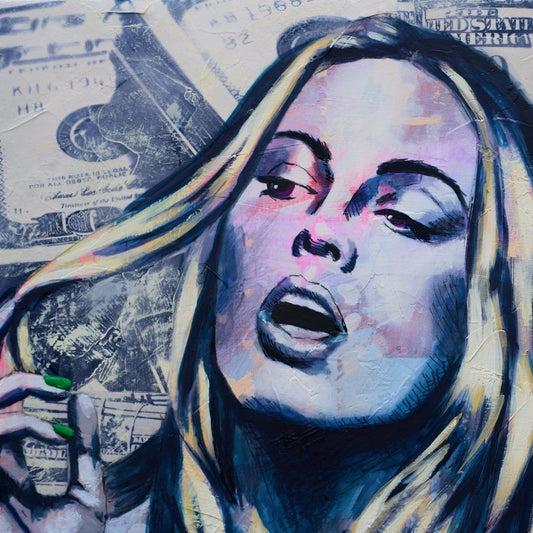
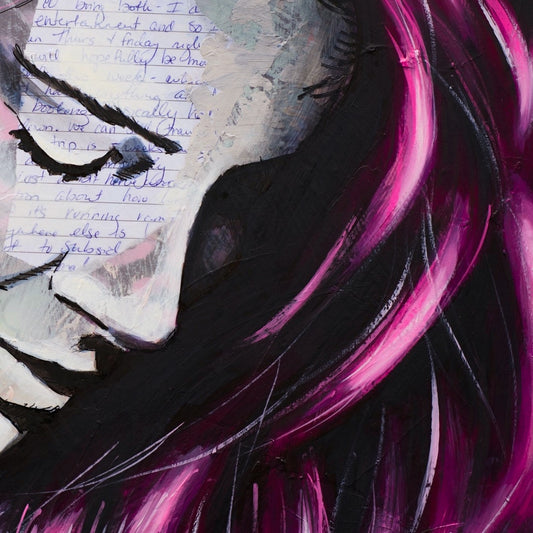
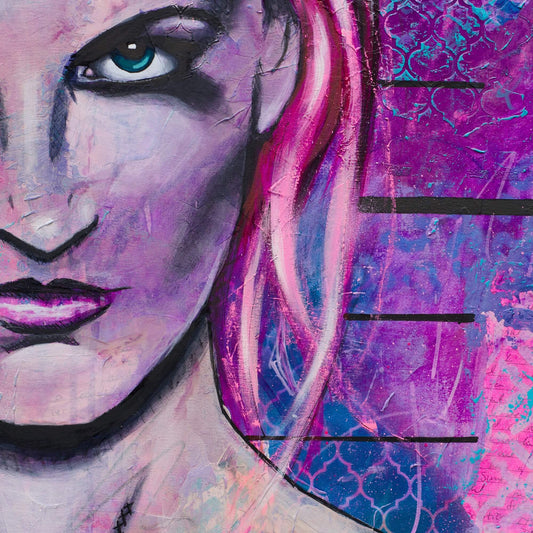
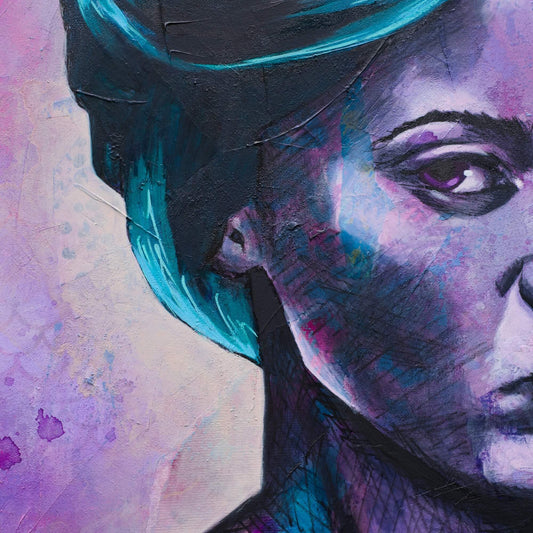
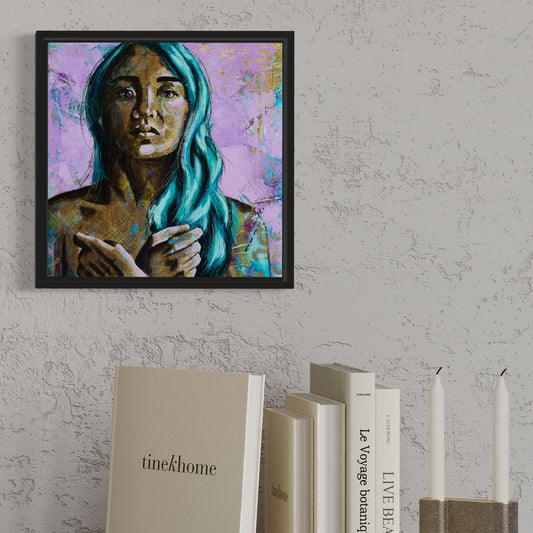
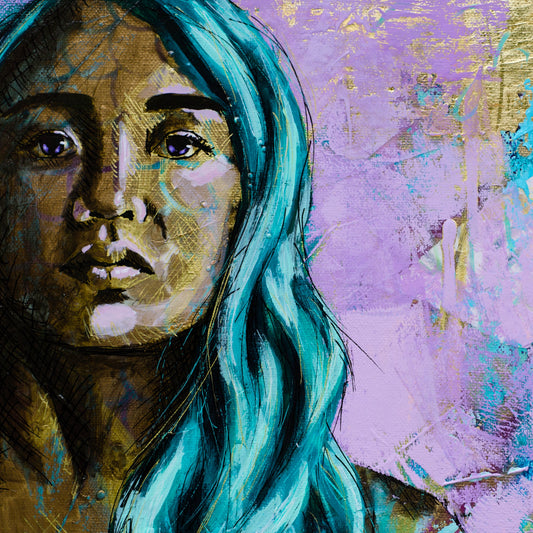
Finally, we got to the real meat of the week: creating a self-portrait using the radiant underpainting technique from Week 2. This was by far the most challenging part of the week, but also the most rewarding. The radiant underpainting technique involves creating a really bright underpainting to get the basic variations of hues in, then adding a layer of dark for the shadows and subtractions out the highlights so you have those bright colours shining through again. Finally you finish with layers of opaques. It's a really cool technique, but it takes a lot of patience and skill to pull off.
Hot TipWith this underpainting, when it came time to add the dark glazes I used complimentary colours blue for the background and orange for the figurs so these two elements would pop against each other, try adding an under layer of complimentary colours in your own work. |
I won't lie, my self-portrait didn't turn out exactly as I had hoped. I made some mistakes along the way, and I had to do a lot of reworking to get it to look right. But in the end, I was really happy with the result. It's not a perfect likeness, but it does capture something of my essence, which is what a good portrait should do.
One of the things that I've learned throughout this program is that oil painting takes time. You can't rush it, and you can't expect to get everything right on the first try. Each painting is a journey, and it's important to be patient with yourself and allow yourself to make mistakes.
Overall, I'm really enjoying this program. I'm learning so much about how to paint, and I'm having a blast doing it. It's amazing to think that I can learn to paint at home, thanks to the Milan Art Institute Mastery Program.
So, that's it for this week. I'm looking forward to what week 14 has in store for me, and I can't wait to share my experiences with you all. Until next time!